Difference: TrackWork (11 vs. 12)
Revision 122023-07-09 - PeterSchmid
| Line: 1 to 1 | ||||||||
|---|---|---|---|---|---|---|---|---|
%DASHBOARD{ section="banner" | ||||||||
| Line: 9 to 9 | ||||||||
|
Intro
| ||||||||
| Changed: | ||||||||
| < < | Intro | |||||||
| > > | ||||||||
| Line: 18 to 18 | ||||||||
| Changed: | ||||||||
| < < | Prototype
| |||||||
| > > | ||||||||
Prototype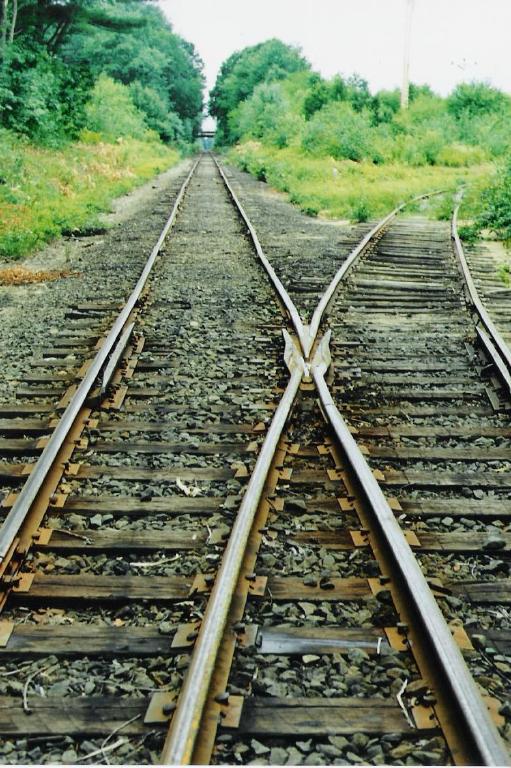 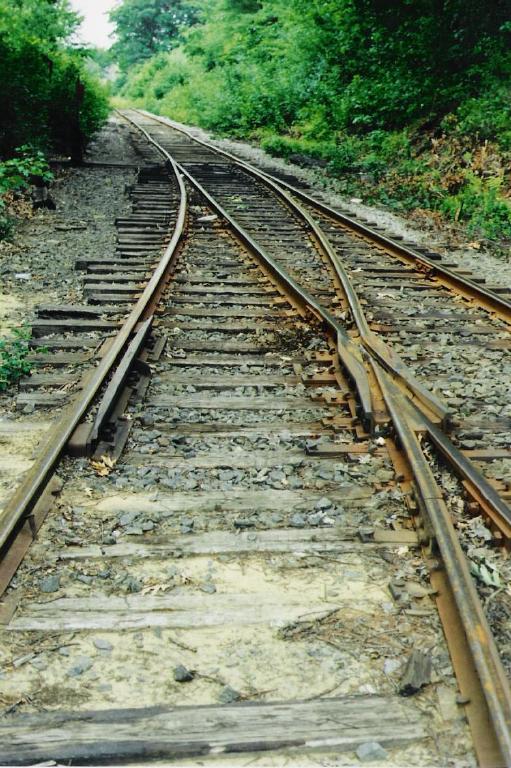   | ||||||||
| Line: 48 to 48 | ||||||||
| Changed: | ||||||||
| < < | ||||||||
| > > | ||||||||
Rails | ||||||||
| Line: 145 to 145 | ||||||||
| Changed: | ||||||||
| < < | Tips
| |||||||
| > > | ||||||||
TipsTools needed
| ||||||||
| Added: | ||||||||
| > > |
| |||||||
| ||||||||
| Line: 171 to 172 | ||||||||
| Changed: | ||||||||
| < < | How To Scratch Build a Narrow Gauge Standard Gauge Crossing
| |||||||
| > > | ||||||||
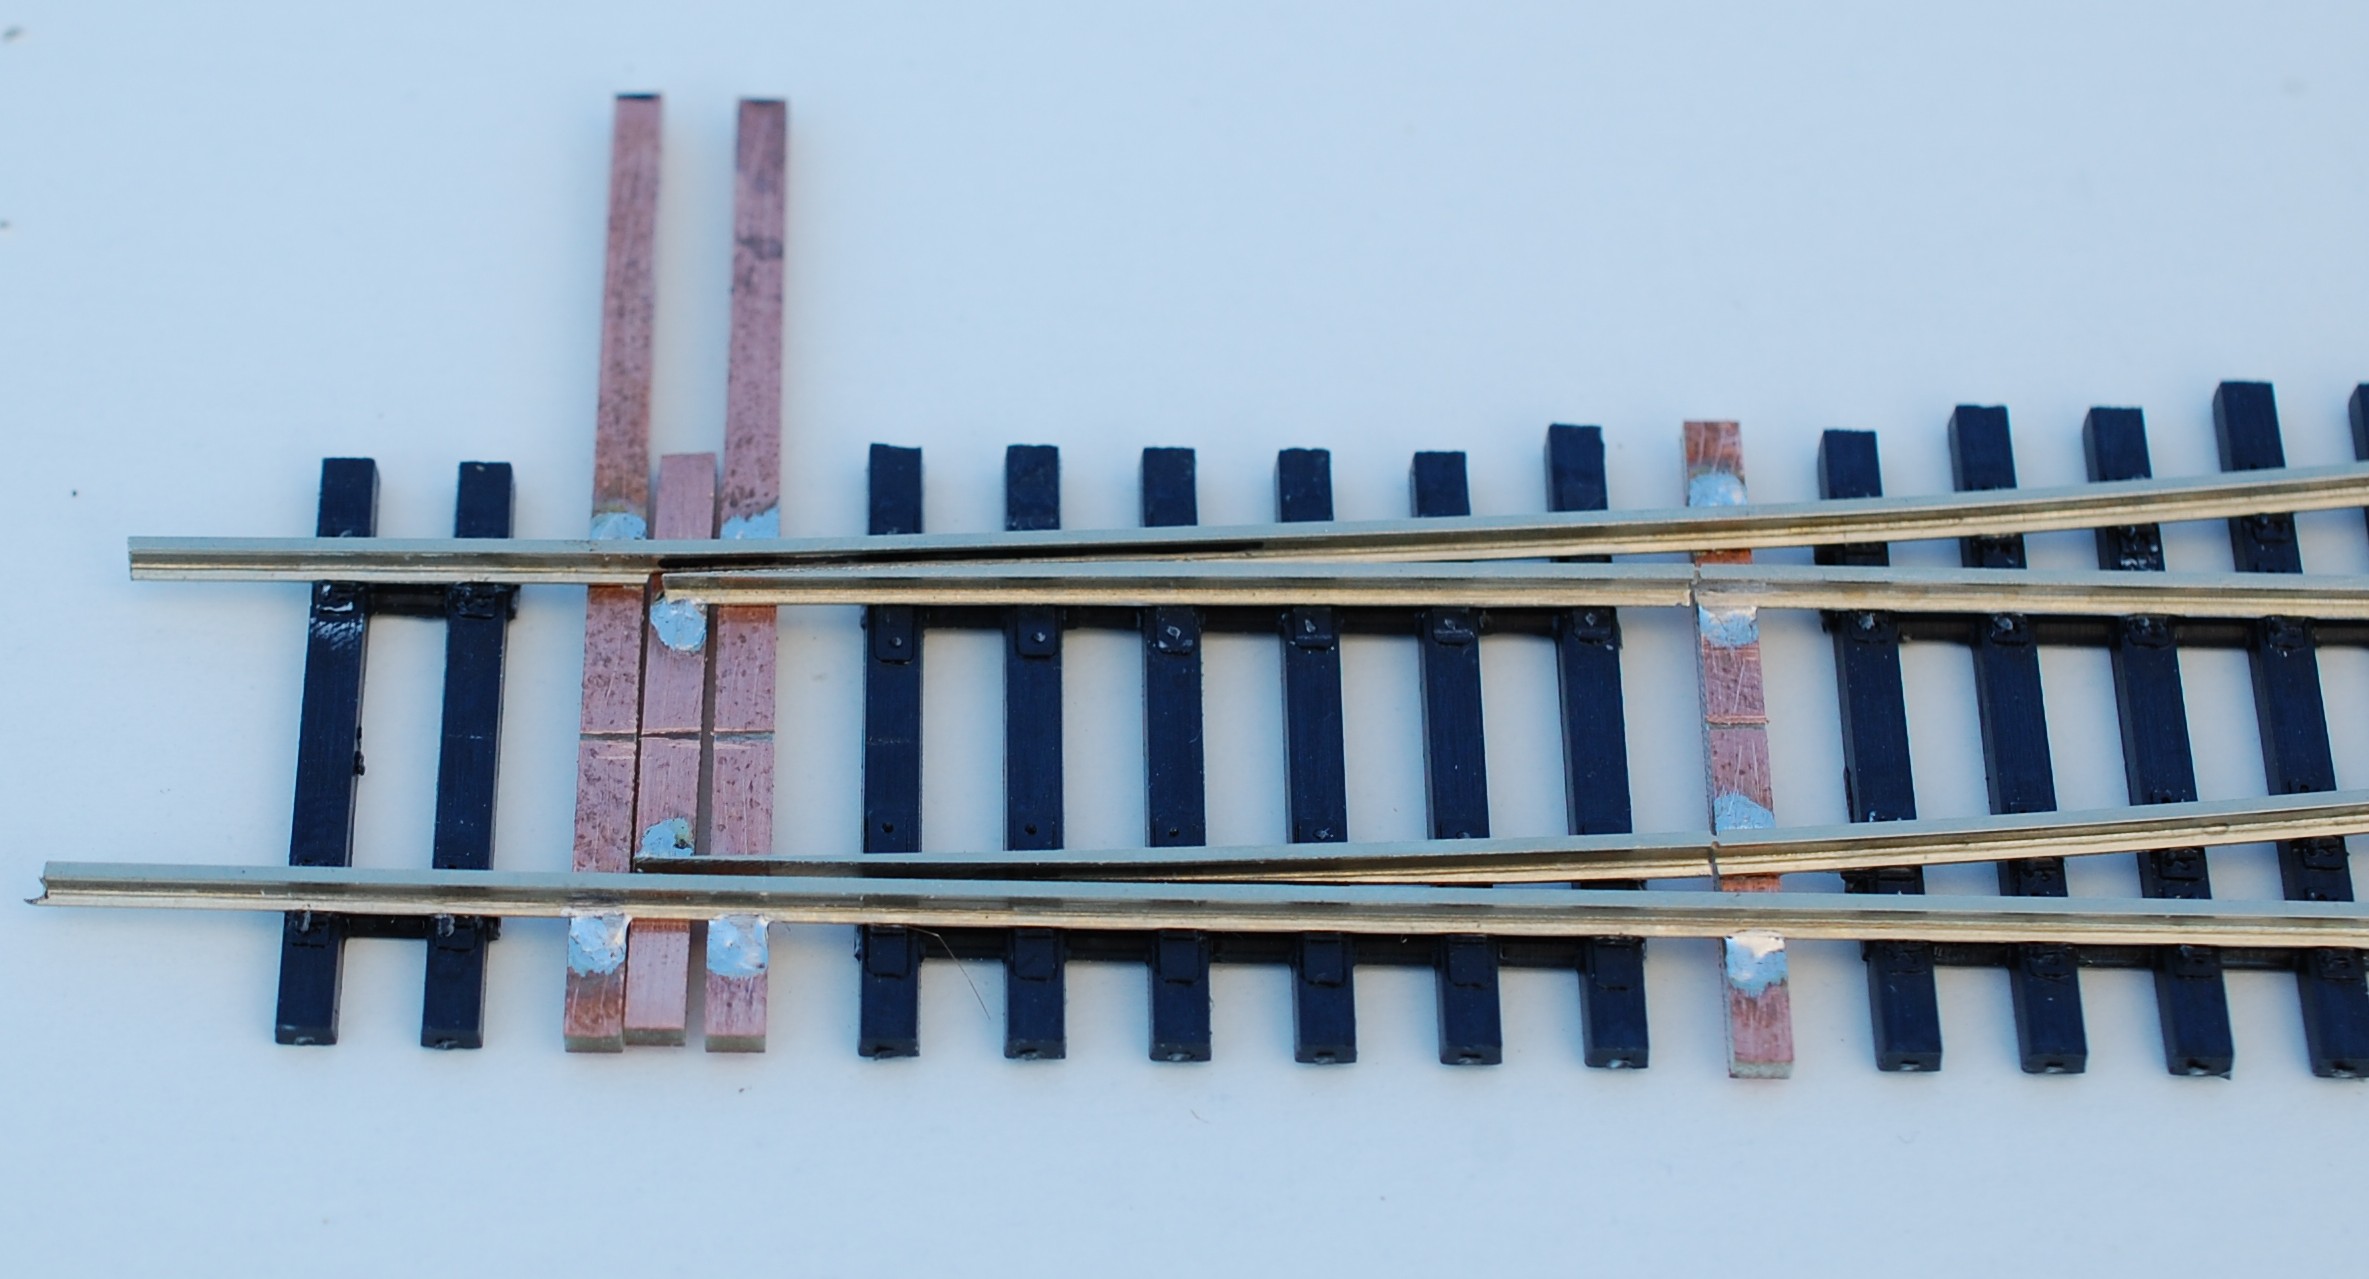
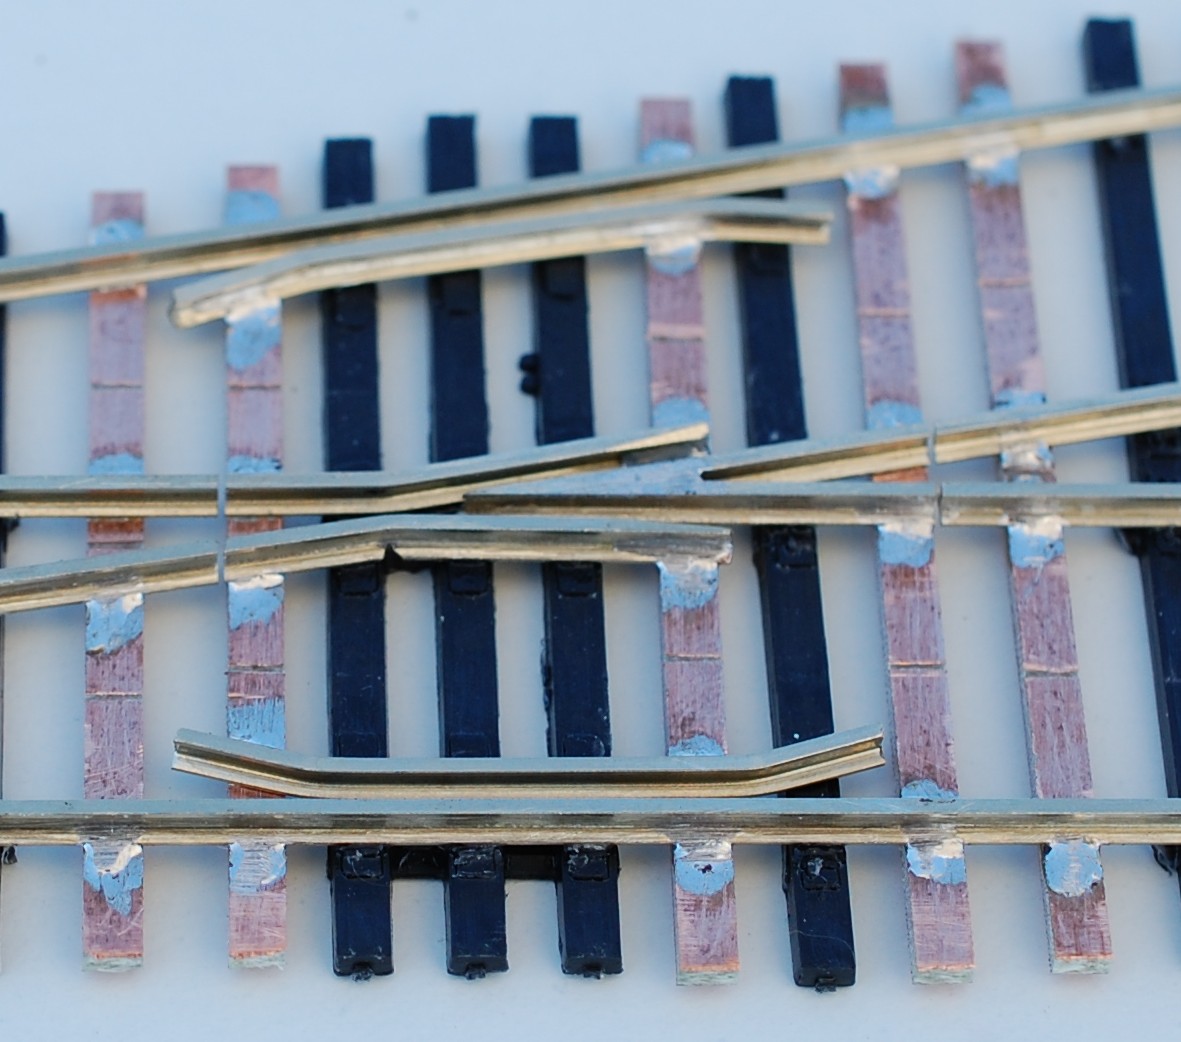
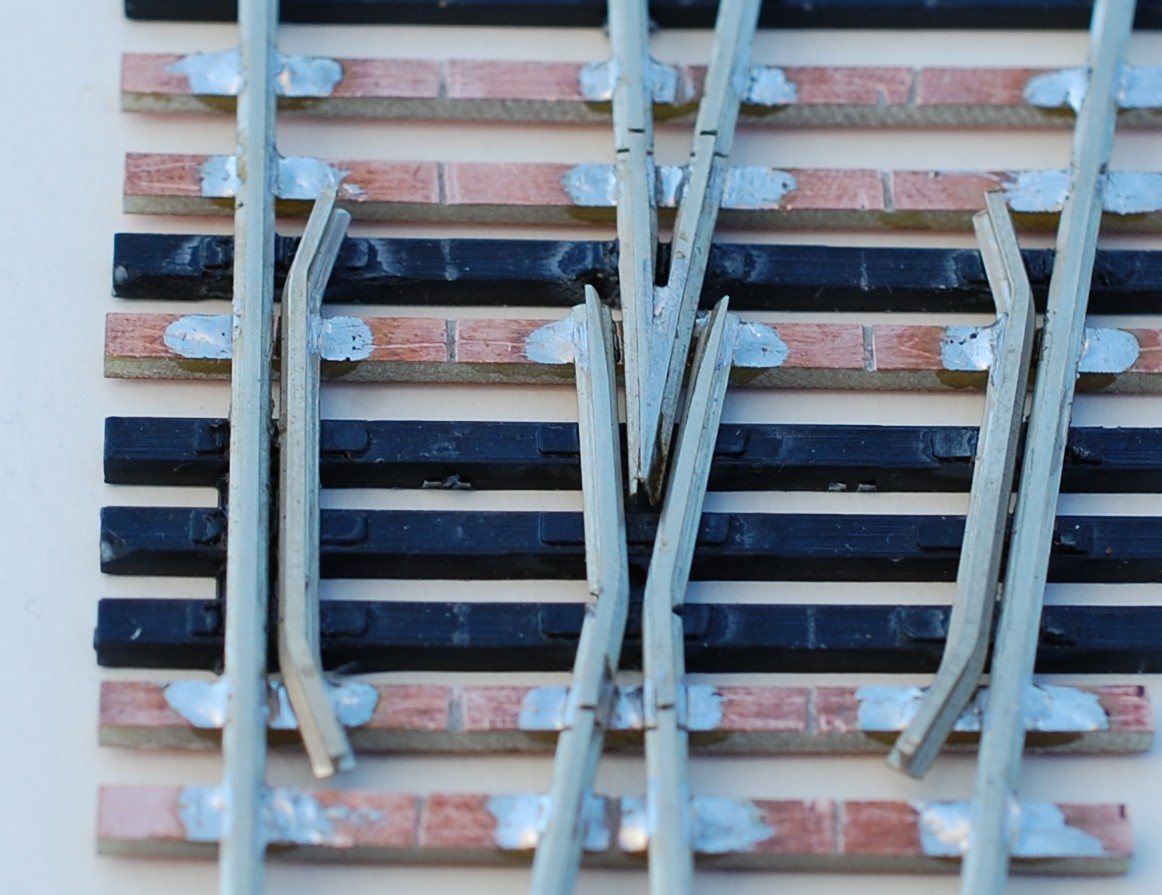
How To Scratch Build a Narrow Gauge Standard Gauge CrossingAs far as I know there is no commercial narrow gauge standard gauge crossing available. It takes me about 4 h to build a "diamond" from scratch. You need only only some code 70 rails and PCB cross ties. | ||||||||
| Line: 230 to 231 | ||||||||
| Changed: | ||||||||
| < < | How To Convert an Atlas N Code 55 Turnout to HOn30
| |||||||
| > > | ||||||||
How To Convert an Atlas N Code 55 Turnout to HOn30Commercial available HOn30/H0e/009 turnouts from Peco, Tillig, Technomodell, and Roco have too heavy rails (Code 80/83) and too wide angles (15 °, less than #4). You can build the turnouts from scratch, but for me it is difficult and to time-consuming to build the heel of the switch (especially the hinge) and the frog. The N code 55 turnouts from Atlas are available with frog numbers #5 and #7 (for details see http://www.atlasrr.com/Trackmisc/ncode55.htm | ||||||||
| Line: 285 to 286 | ||||||||
| Added: | ||||||||
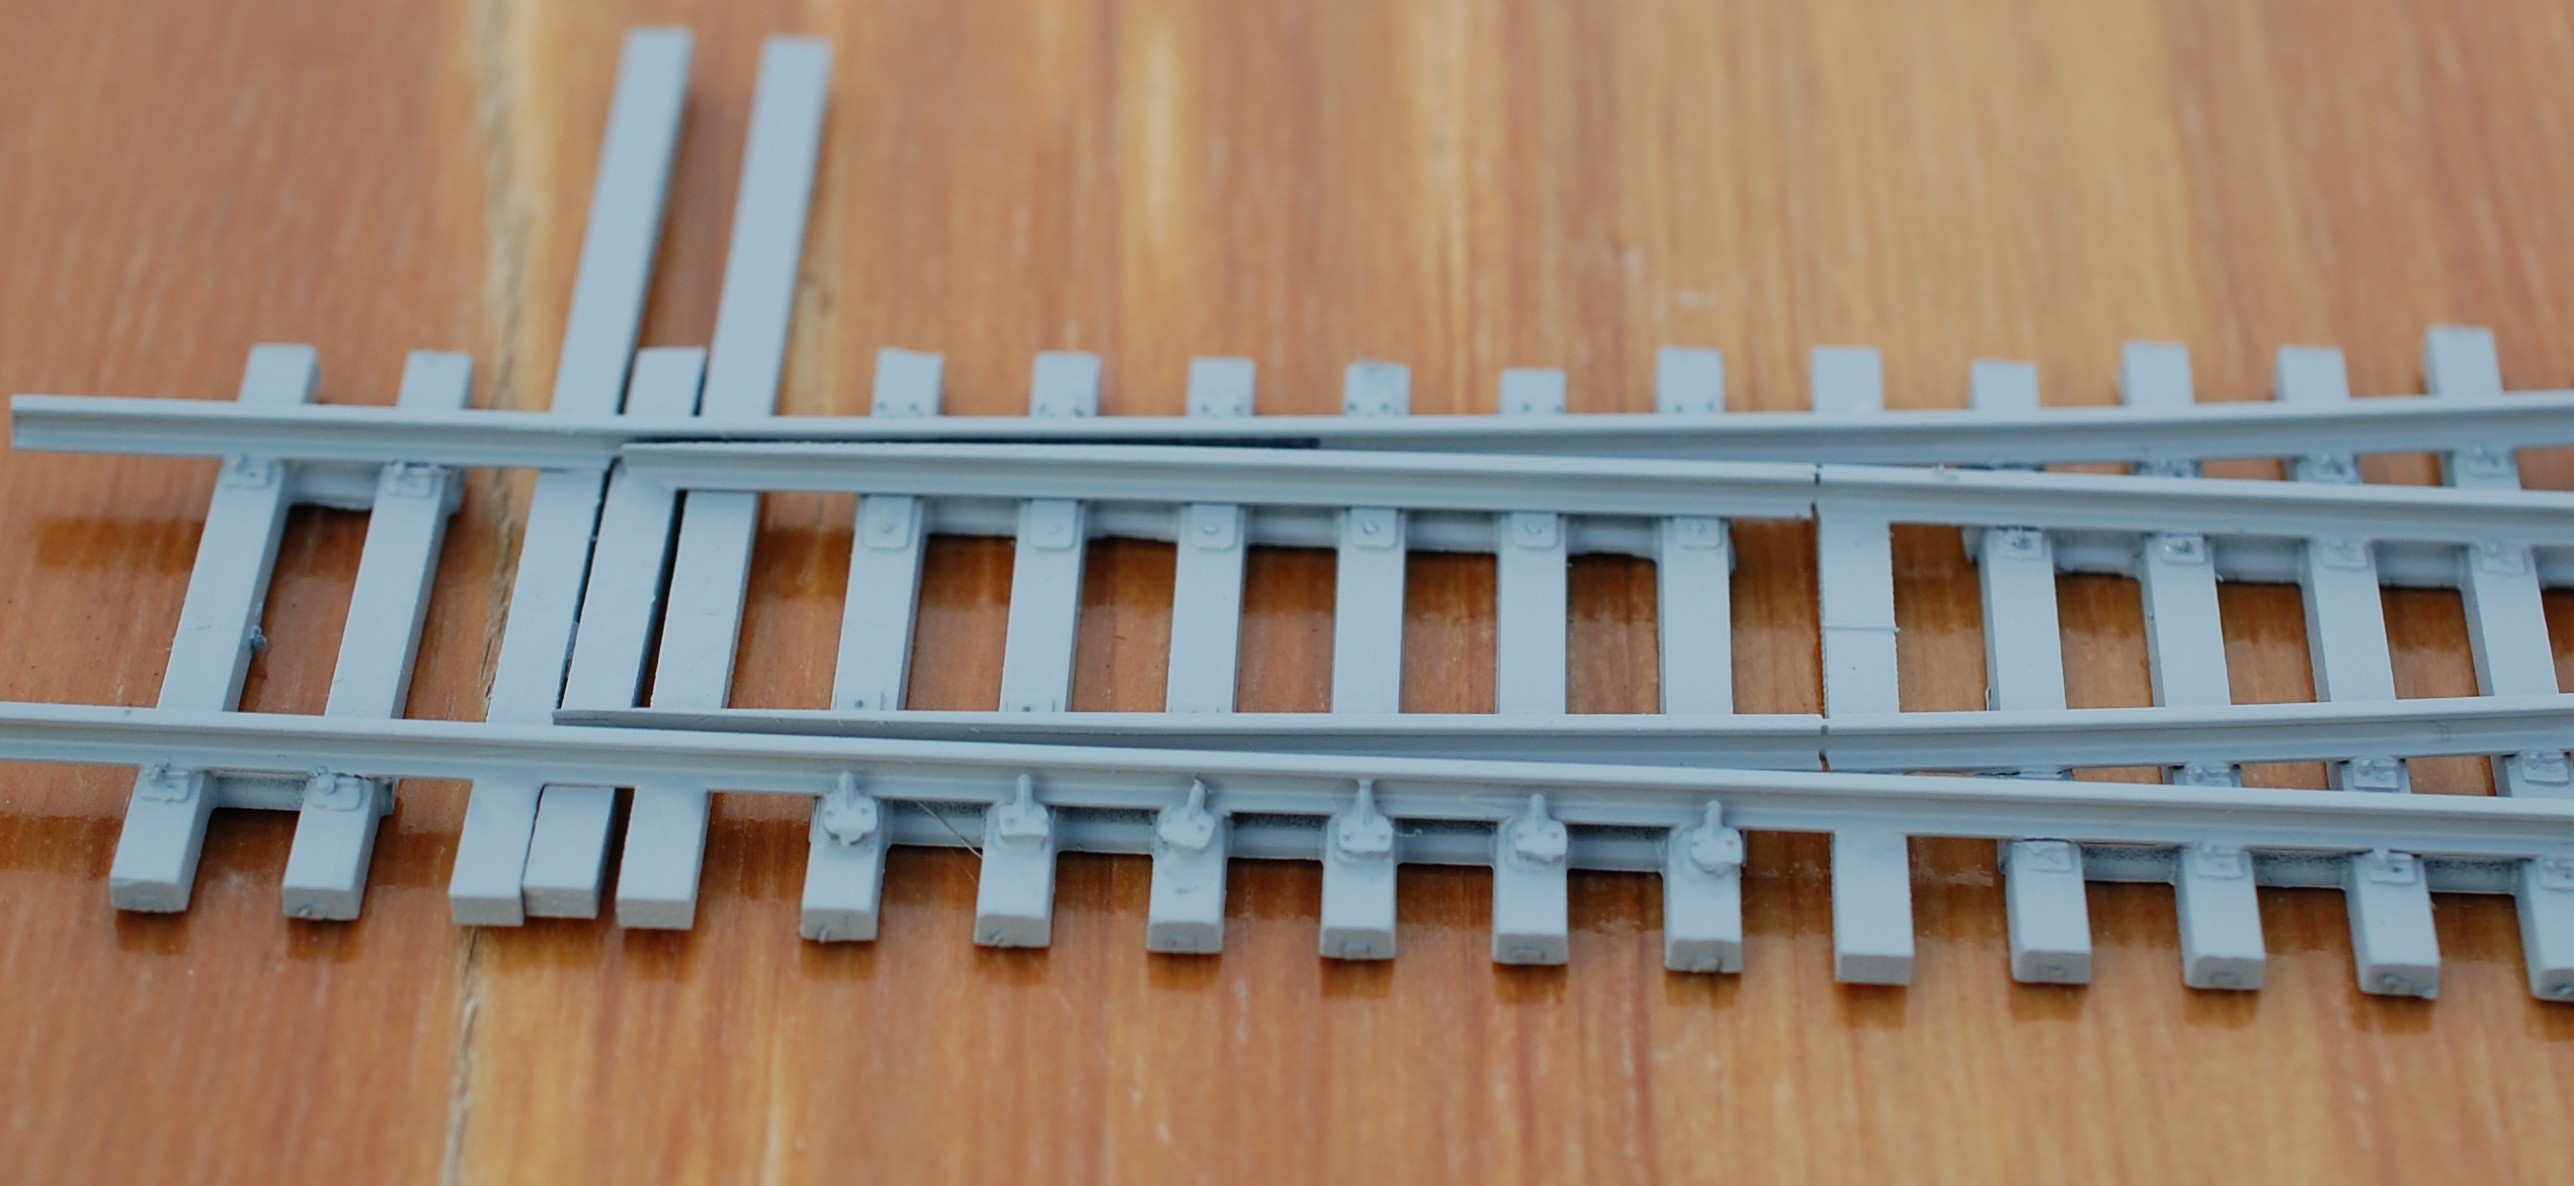
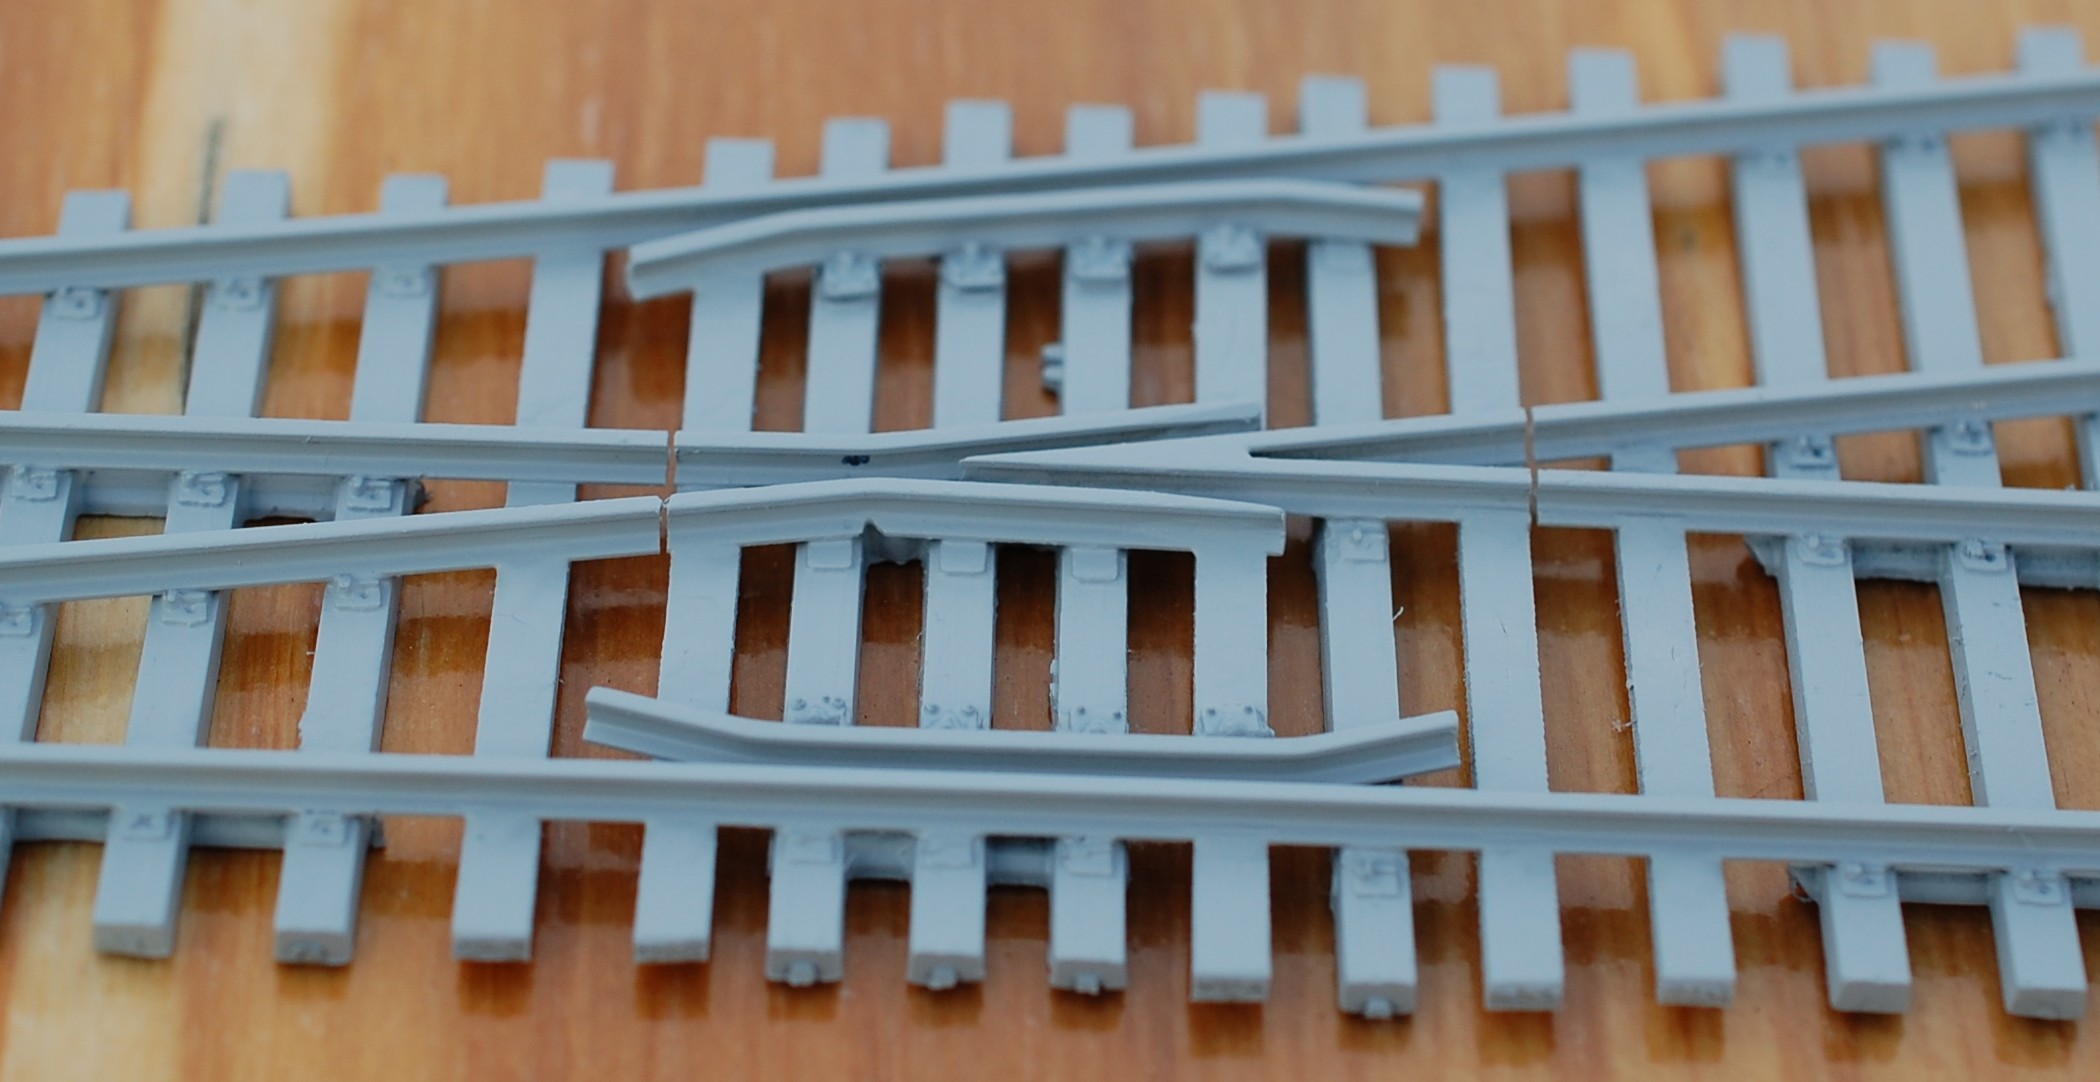
| > > | Build a Switch with CVT Turnout TiesThere is nothing wrong with the Turnout Kits
| |||||||
| Changed: | ||||||||
| < < | Bibliography
| |||||||
| > > | ||||||||
Bibliography
| ||||||||
| Line: 385 to 414 | ||||||||
| ||||||||
| Added: | ||||||||
| > > |
| |||||||
View topic | History: r14 < r13 < r12 < r11 | More topic actions...
Ideas, requests, problems regarding TWiki? Send feedback